How to Clean Jars for Kombucha (and Sanitize Your Equipment)
If your latest batch of kombucha developed mold or off-flavors, there is a high probability that your sanitation process failed. In the world of home fermentation, hoping your equipment is clean is not a viable strategy. A successful brew requires protecting your SCOBY from competing microbes.
To achieve consistent results, we have to eliminate the guesswork and apply standard operating procedures to our kitchen setups. If you are wondering how to clean jars for kombucha setups safely, the first step is understanding the fundamental difference between cleaning and sanitizing.
Cleaning vs. Sanitizing: The Critical Difference
Many homebrewers use these terms interchangeably, but they are two entirely different processes. You cannot sanitize a surface that has not been properly cleaned first.
- Cleaning is the mechanical removal of visible dirt, organic matter, and physical debris (like dried pellicle bits or old yeast strands).
- Sanitizing is the chemical process of reducing invisible surface microbes to safe levels, ensuring wild yeast and mold spores cannot compete with your SCOBY.
When figuring out how to clean a kombucha jar, you must tackle both steps in order.
Why Traditional Dish Soap Fails
Standard antibacterial dish soaps are designed to leave chemical surfactants and films behind. This is done to make glass shine or to keep your kitchen sponges smelling fresh. In fermentation, that lingering residue could ruin your next batch!
Antibacterial compounds left on the glass will actively attack the beneficial bacteria in your SCOBY, stalling your fermentation or killing the culture entirely. If you must use soap to remove stubborn debris during the initial mechanical wash, use an unscented, residue-free soap, and rinse it with plenty of hot water, even more than you think is necessary!
The Approved Chemical Sanitizing Agents
To properly sanitize, we rely on low-pH environments to neutralize contaminants. There are two highly effective agents for home fermentation:
1. Distilled White Vinegar (The Accessible Standard)
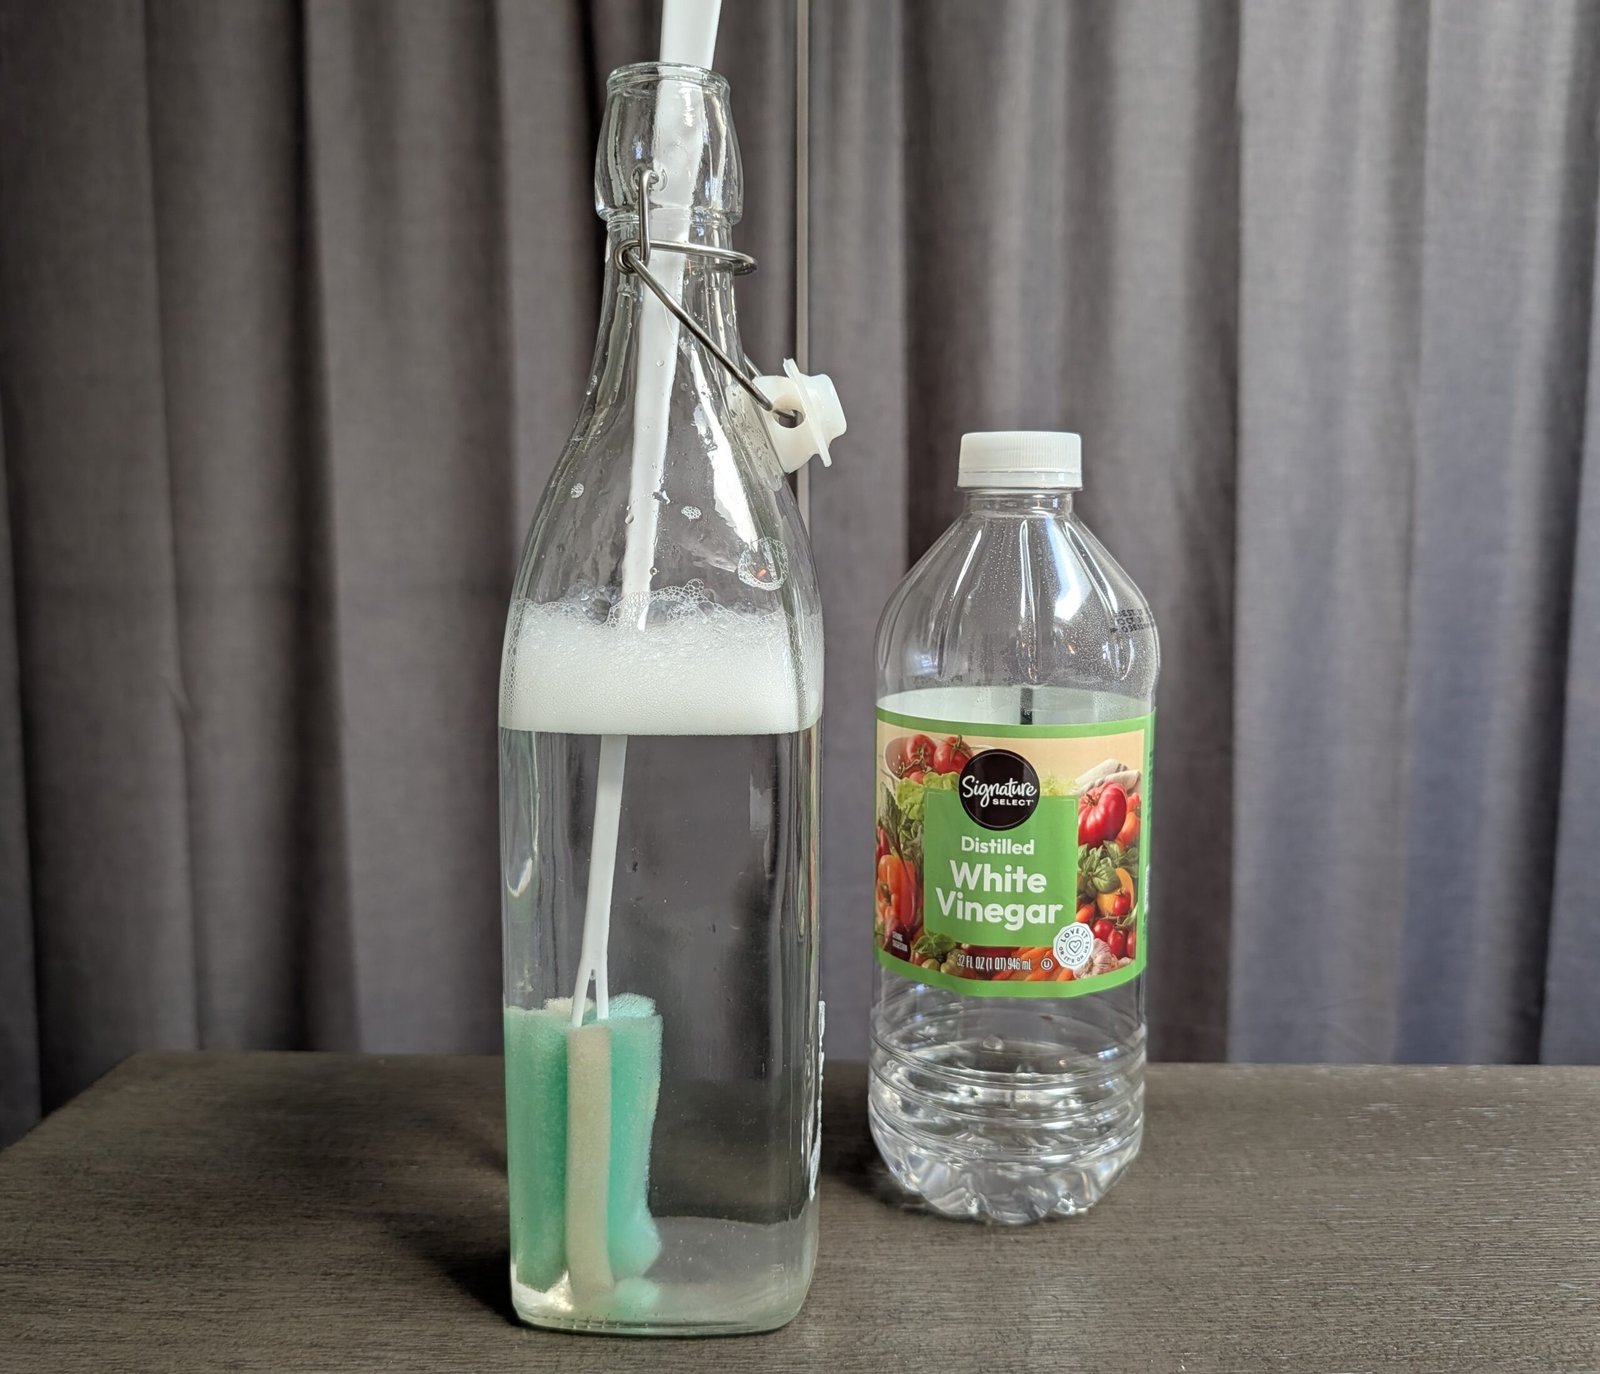
Because your SCOBY thrives in an acidic environment, distilled white vinegar (which is essentially a diluted acetic acid) is a perfectly safe and highly effective sanitizer.
- The Mechanism: The low pH creates a hostile environment for mold spores and wild bacteria.
- The Process: After thoroughly washing and rinsing your vessel, swish a few ounces of pure, undiluted white vinegar around the inside of the jar. Ensure it coats every surface. Dump the excess.
- The Rule: Do not rinse the jar with water afterward. Rinsing reintroduces the trace microbes present in your tap water. Any residual vinegar will not harm your SCOBY.
2. Acid-Based Commercial Sanitizers (The Industrial Approach)
For absolute precision, industrial acid-based sanitizers like Star San are the gold standard.
- The Mechanism: Star San utilizes phosphoric acid and dodecylbenzenesulfonic acid to destroy microbial cell walls.
- The Rule: It requires strict adherence to dilution ratios and a minimum of 1 to 2 minutes of direct surface contact time to be effective.
- The Benefit: It is a “no-rinse” sanitizer. The remaining foam actually breaks down into yeast nutrients, making it entirely safe for your brew.
Standard Operating Procedure for Kombucha Equipment Cleaning and Sanitation
Follow this exact workflow before transferring sweet tea or starter liquid into any vessel.
- Mechanical Wash: Scrub the vessel with hot water and inspect to ensure all physical debris has been removed.
- Thermal Rinse: Rinse the vessel thoroughly with the hottest water your glass can safely handle to remove any trace minerals or soap residue.
- Chemical Sanitization: Apply your chosen acid-based sanitizer (White Vinegar or Star San) to all interior surfaces.
- Contact Time: Allow the sanitizer to sit for the required duration.
- Air Dry (No Rinse): Invert the jar on a clean rack and let it air dry. Never wipe the inside with a cloth towel, as this will immediately introduce lint and bacteria.
How to Sterilize Glass Bottles for Kombucha
As you move into the second fermentation (F2) stage to carbonate your brew, you will transition from large open-mouth vessels to sealed swing-top bottles. Although many new search how to sterilize glass bottles for kombucha, though from a technical standpoint, we are sanitizing them. True sterilization destroys absolutely all microbial life (usually via an autoclave or extreme sustained heat), which is unnecessary and difficult to achieve safely with standard kitchen glass.
However, the preparation process for your swing-top bottles remains exactly the same as your primary vessel:
- Use a bottle brush and hot water to dislodge any fruit or yeast stuck to the bottom from previous batches.
- Fill the bottles halfway with your sanitizer solution, close the cap, and shake vigorously to coat the interior walls.
- Pour the sanitizer out (you can pour it directly into the next bottle to conserve liquid).
- Place the bottles upside down on a clean drying rack. Do not rinse them with tap water!
By applying these strict controls to your cleaning procedure, you eliminate the highest risk factor in homebrewing and give your SCOBY the clean, competitive advantage it needs to thrive!