Kombucha Heating Pads: Mastering Temperature Control
When winter rolls around and your kitchen temperature drops, your fermentation process hits a brick wall. A cold brew means a slow brew, which opens the door for mold to ruin your hard work. Adding a kombucha heating pad to your setup is the easiest way to keep your brew active, safe, and tasting great year-round. Let’s break down exactly how heat changes your brew and what equipment works.
The Science of Kombucha Temperature Control
Kombucha relies on a delicate partnership between yeast and bacteria. The yeast eats the sugar and makes alcohol, while the bacteria eats that alcohol and turns it into that sour taste we all love. In fact, clinical research shows that fermentation temperature has the greatest impact on taste, even more than your initial sugar concentration. If you don’t practice proper kombucha temperature control, that partnership falls apart.
68°F – 74°F (20°C – 23°C) – The Slow Zone: The brew will take much longer (up to 21 days). The flavor will be milder, but the risk of mold increases because the protective acids build up too slowly. Operating in this temperature range makes proper cleaning and sanitizing your primary defense against wild mold.
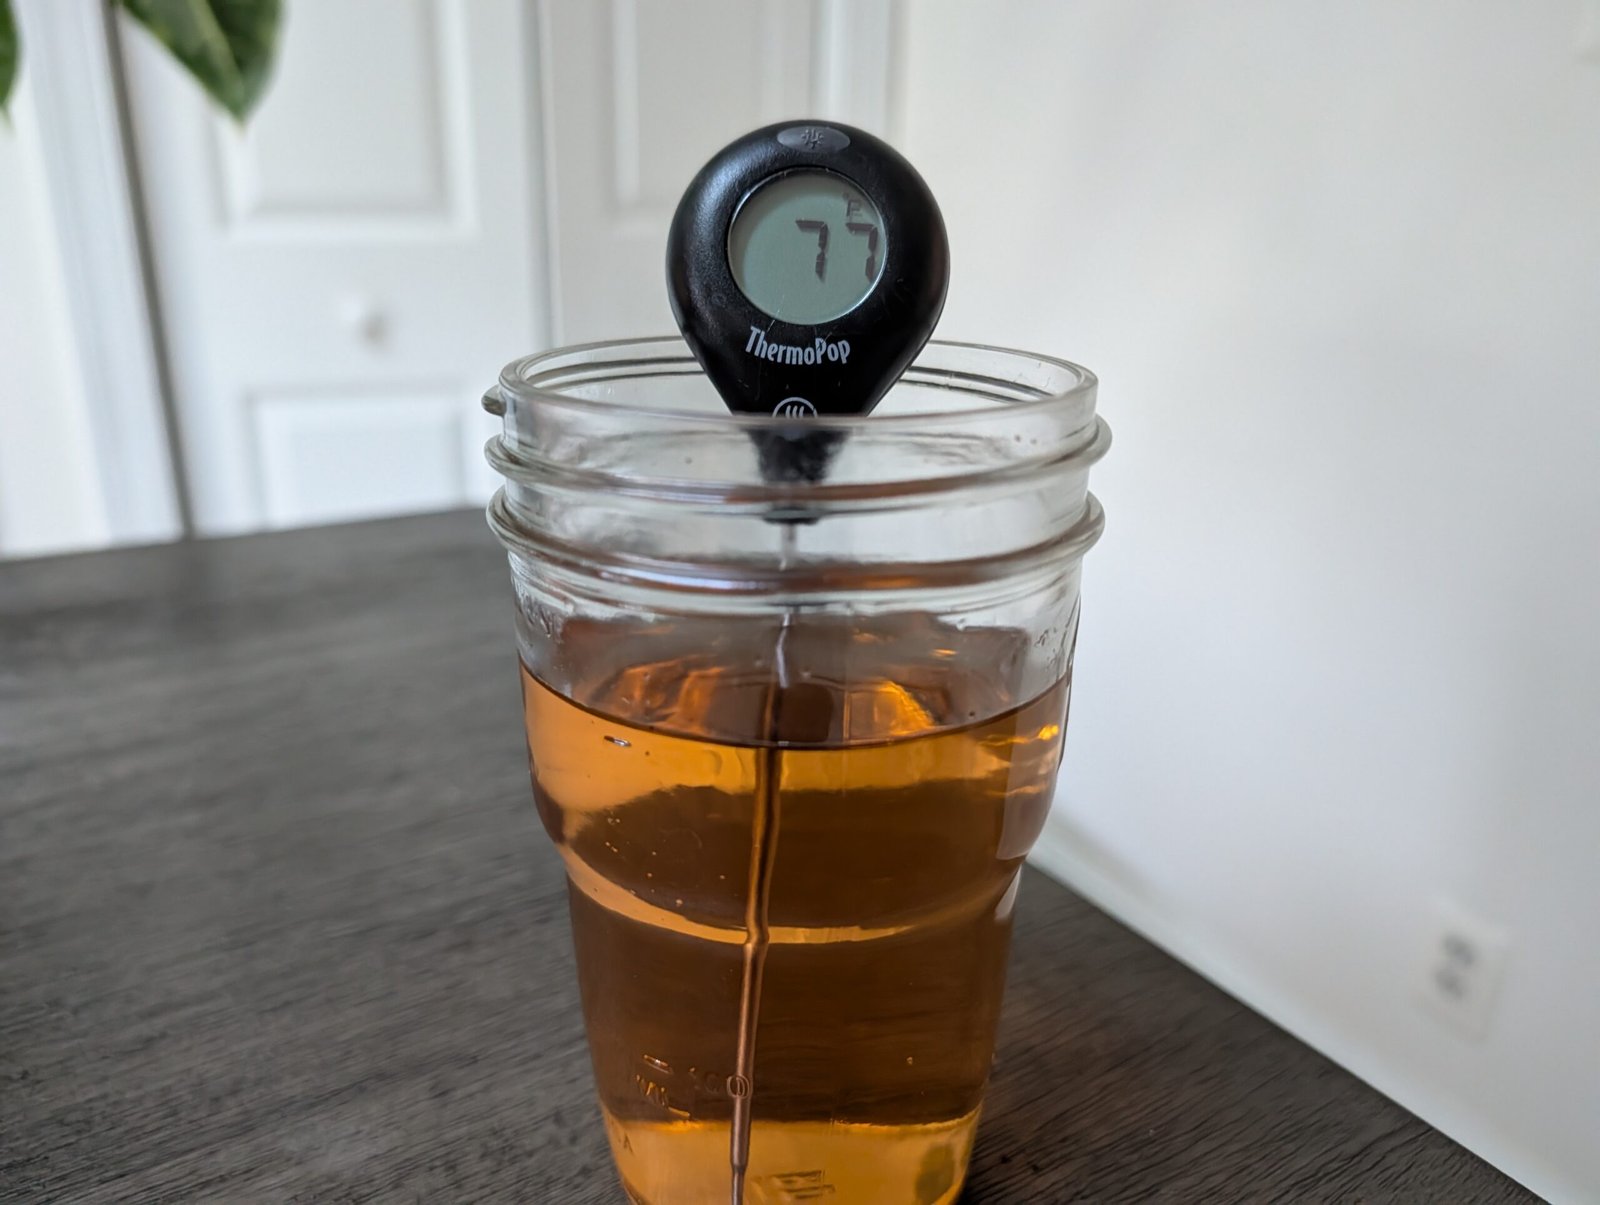
75°F – 80°F (24°C – 27°C) – The Sweet Spot: Both yeast and bacteria work at an even pace. You get a balanced flavor profile in about 7 to 10 days.
81°F+ (27°C+) – The Danger Zone: Yeast speeds up much faster than the bacteria. As a result, your brew will become overly yeasty, smell like sulfur, and turn into harsh vinegar in just a few days.
Since ambient room temperature fluctuates, the only way to lock in that 75°F – 80°F Sweet Spot is with dedicated hardware.
Hardware Review: Finding the Best Kombucha Heating Pad
Not all heat sources are created equal. You need consistent, gentle warmth that evenly disperses heat throughout your brewing vessel rather than blasting it with concentrated and localized heat. Here are the three most common ways to heat your brew, ranked by precision and control.
The Standard Wrap (Basic Heating)
This is a simple, flexible strip that wraps tightly around your glass jar. It plugs right into the wall and delivers a constant, low-wattage heat to the liquid. Because there is no controller attached to this unit, the unit is always “on.”
Because of that, you must monitor the adhesive temperature strip on your jar manually. If the brew gets too hot, you slide the pad up the glass or loosen the wrap to prevent excess heat. It is a highly effective tool, but it requires daily babysitting to ensure your brew stays in the safe zone.
The Cross-Discipline Hack: Seedling Mat for Kombucha
Gardeners use waterproof heated mats to help seeds sprout in cold greenhouses. Using a seedling mat for kombucha works identically to a standard wrap, and it usually is half the price! It is built to withstand spilled water and wet soil, making it extremely durable and easy to sanitize for messy brewers.
Just like the basic wrap, a seedling mat runs continuously without a thermostat. You can wrap it around the sides of your jar and secure it with a couple of thick rubber bands. However, never set your glass jar directly on top of the mat, as heating from the bottom will overstimulate the dead yeast resting at the base of the jar and ruin your flavor.
The Closed-Loop System: Kombucha Heating Pad with Thermostat
This is the absolute gold standard for home fermentation. A kombucha heating pad with thermostat includes a flexible wrap and a separate digital controller. You attach a small temperature probe to the side of your brewing jar, and the computer does the thinking for you.
You simply set the thermostat to your target temperature, such as 78°F. The controller automatically cuts power to the pad when the brew gets too warm, and it kicks back on when the temperature drops. This is ideal for a completely hands-off, stress-free brewing experience!
Step-by-Step: How to Set Up Your Heating System
Once you have your gear, proper installation is critical to preventing hot spots and ensuring an even brew. Follow these steps to set up your system safely and accurately.
- Position the Vessel: Place your brewing jar in its permanent home. Keep it out of direct sunlight and far away from drafty windows, ovens, or forced-air heating vents.
- Apply the Heat: Wrap the mat securely around the middle or upper half of the jar. Again, never place the mat underneath the vessel, as bottom-heating cooks the yeast cake.
- Attach the Probe: If using a controller, tape the temperature probe directly to the glass, exactly halfway down the side of the jar. Cover the probe with a folded piece of paper towel before taping it down to insulate it from the ambient room air.
- Set the Target: Plug the heating pad into the thermostat, and plug the thermostat into your wall outlet. Set your target temperature to 78°F (25°C) and let the hardware do the heavy lifting.
Safety Tips & Hazard Mitigation
Before walking away from your fermentation station, ensure your setup passes these basic safety checks:
- Secondary Containment: Place your brewing jar and heating mat inside a shallow plastic or metal tray. If a spigot leaks or the batch overflows, the liquid is contained before it can reach the electrical outlet.
- The Drip Loop: Ensure the power cord dips below the level of your wall outlet before plugging it in. This prevents any spilled liquids from traveling down the cord and into the socket.
- Thermal Trapping: Never wrap a heavy towel or blanket over the heating mat to “help” it. This disables the mat’s ability to dissipate heat, creating localized hot spots that can crack the glass or cause an electrical fire.
- Clearance: Maintain at least two inches of clearance around the mat. Do not push it against curtains, paper towels, or mail.
- Routine Inspection: Always inspect your hardware before a new batch. If your controller throws an error or the mat shows deep creases that could indicate internal wire breaks, replace the unit.
Consistency is the secret ingredient to great fermentation. By locking your brew into the optimal temperature range, you completely remove the guesswork from your process. Choose the hardware that fits your budget and enjoy perfect batches of kombucha all winter long.